Plastic Welding a Kayak with Minimal Tools
March 24, 2024
Plastic Welding a Kayak with Minimal Tools
Published: March 24, 2024
Don't worry, you got this!
Things you'll need:
- Heat gun
- Plastic Rods
- Nails with fat heads
- Some low grit sandpaper
This process is more forgiving then you may imagine as the kayaks can take a lot of heat before it starts to burn! On each side try to mentally think if you have liquified at least half the plastic on the side you are working on. Once you do the same on the other half then the plastic is blended the whole way through your boat and is solid. WORST case scenario you go back and do it again.


Video Transcript
Hi, everyone. I'm Garrett Scott, and I'm going to be showing you how to fix a crack in your kayak. Today, we've got a six-inch crack in this 9R. So it's right here. Let me get nice and close there. You can see that is a full crack. We are going to fix that with the bare minimum tools today.
Okay. So first item on the list, cheap heat gun from Walmart. Heck, if you're done with this, you might even be able to return it if you want to. Plastic rods. Going to need those. Long nails with the biggest heads possible. These are the biggest ones I could find. If you can find bigger ones, great. And sandpaper. You might want to get 80. I have these. What I got? 120 and 180. That's going to help shape the plastic. So we're going to melt it in, we're going to sand it down, and then we're just going to repeat the process.
This crack, for me, is obviously right on the seat, so I got to take the whole seat out before I get started. And I'll let you know how long that takes me. So I'm going to be using this little multi-tool, but you may not need that. Just shy of six minutes. We got the seat out. It's hard to see, but the crack is right there. You're going to want to clean it somehow, but instead of getting things wet, I'm just going to sand it down. It's going to get rid of the grime, oil, dirt, whatever. We're just going to sand it off. Start sanding away.
Okay. So this is the tricky part is actually using the heat gun. If you use too much heat and you burn the plastics, well, it gets burnt and it's not going to join. So the key is going to be taking our time, melting the plastic until it's pliable, and then that's where these fathead nails come in handy. So one thing I want to point out is these plastic rods can be kind of hard to get. Just start right with the manufacturer. Call them up and say, "Hey, I'm looking for rods," or look up the nearest dealership by you. These actually took me about two weeks to get in from Europe.
Okay, here we go. So we're just going to be warming up the plastics here. We'll start with the inside one. And you'll see I'm just going a little broad here. I'll put my hand in here just for a little reference. Again, I don't want to burn my fingers off, but you want to be aware of how much heat you're using. Once you see it start to melt, you don't want it to smoke, right? Take your time with it. We're going to come back and do more than one pass. So don't feel like you've got to go back and fill in the crack. Just do one nice big pull.
I'm just kind of pushing that in. I can use the pointy. It is going to get a little toasty in there, but we're dealing with lots of heat. See how liquid that is? Now it's getting too soft. You don't want to get too soft, right? Because if we get too soft, that's not going to be good for our boat either. We're going to deform it. Okay. So take a look here. You'll see what I'm working with. That's going to be the first pass. We're going to flip the boat and do some on the other side. This is really rough right now, but I don't want to keep pushing without putting plastic on the other side because I'm going to start pushing the boat out.
So looking at it here, you can see this is where I was talking about where we were pushing the boat out. You see how that's sticking out? We're going to push that back in, though. It's going to be okay. Start pushing her in. Again, this is going to be a lot of push and pull. We just want to make sure that we don't burn the kayak. Look at that nice seal. I got the heat far away. I'm not trying to add heat, I'm just trying to maintain it. And what's kind of nice about having the multiple nails is they get hot sometimes because they're metal. So you can swap it out, right?
So if you start getting a bulge, know the kayak can take a little bit of a beating. We're trying to mix it, not just hide the problem. We want to mix the plastics. That's the scary part. But if you don't mix the plastics, then you're going to have problems. And again, see, that's mixing plastics. Just repeat the process again. The more blending we do, the stronger this is going to be. Also, something to note when working on the crack is that I'm not just putting heat right on the seam. Jeez, you can barely see it now. I have it pretty faded or pretty mixed in. But I'm not putting heat right on the seam. I'm heating around it too. Okay? And that's going to keep it from cooling down too fast and getting hard really quick or getting very hot, really too pliable, too quick. Heating around the whole area is going to just help it maintain that perfect temperature longer and be easier to work with.
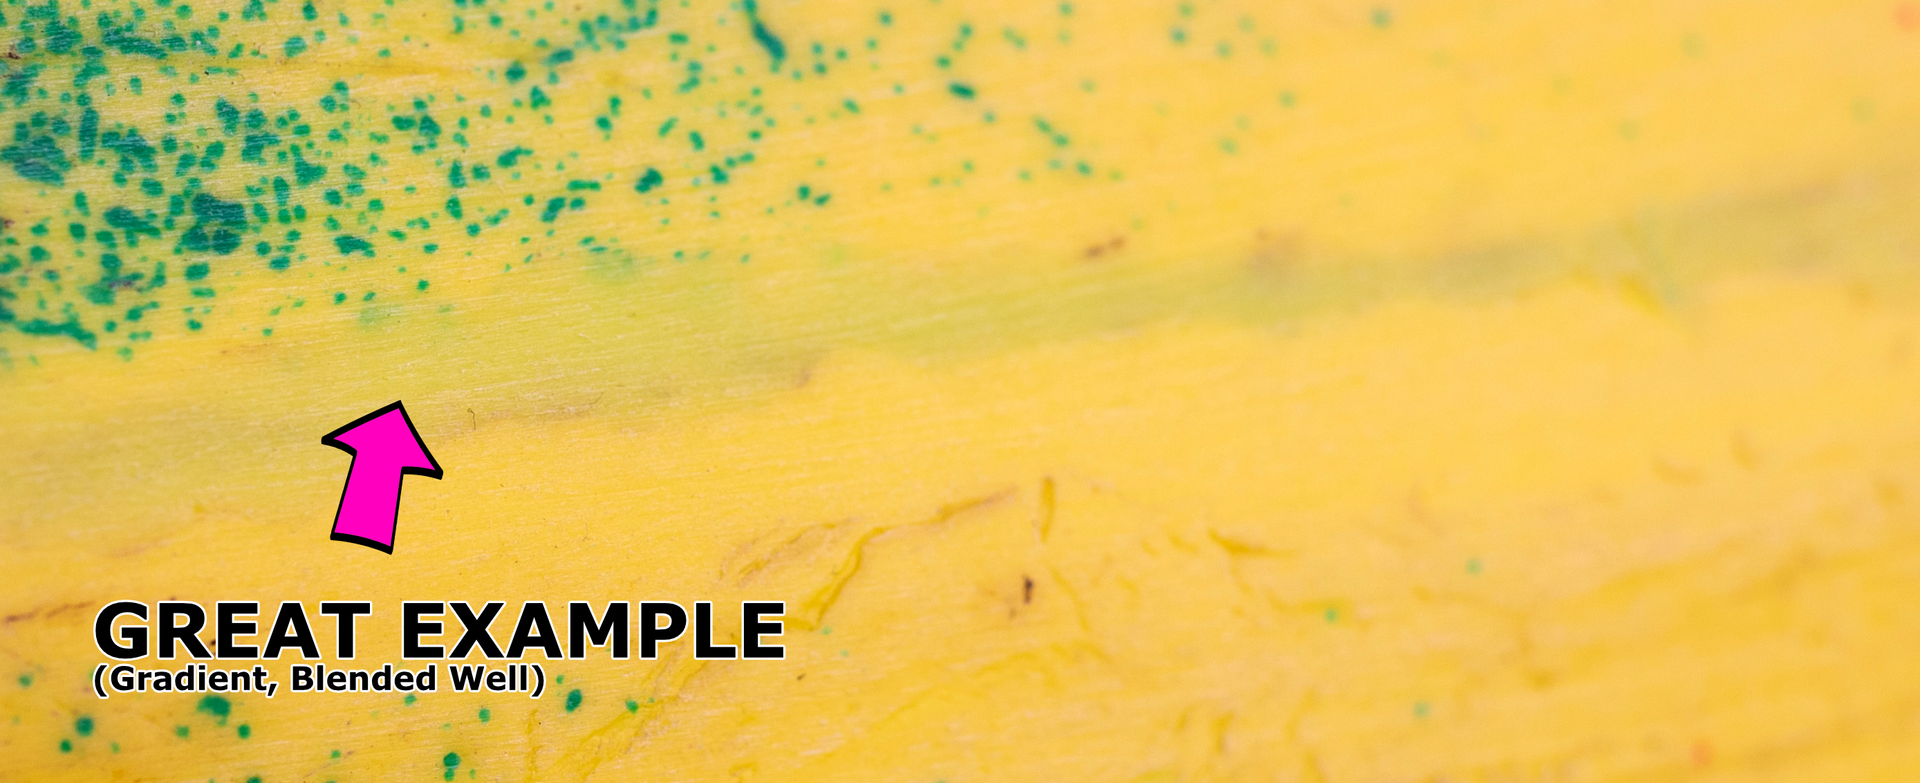
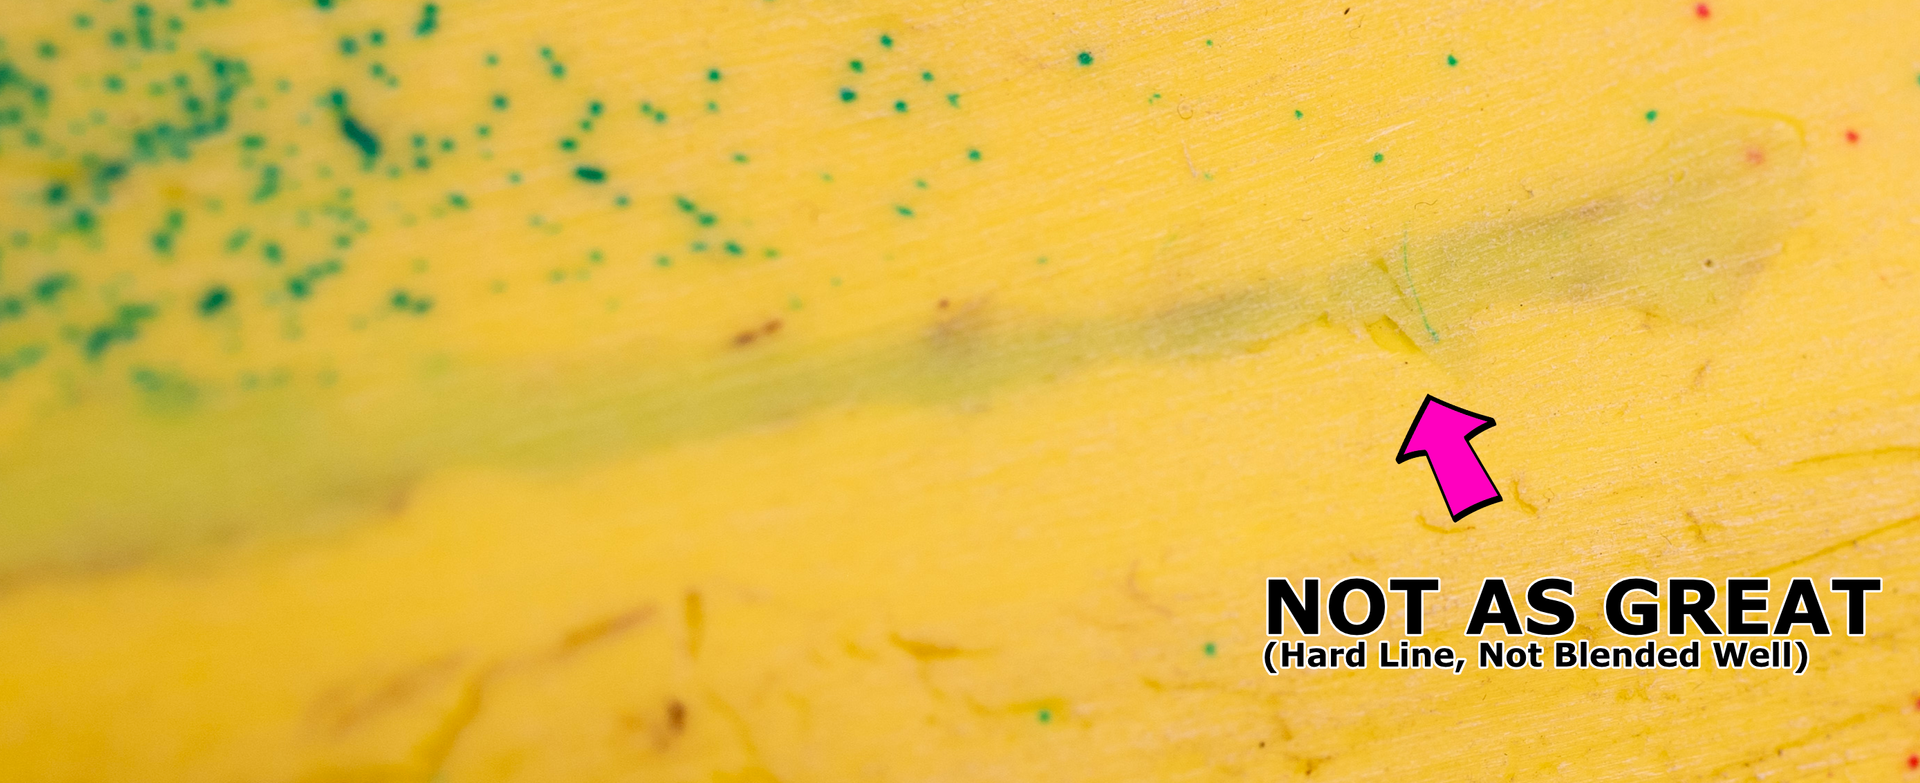
So kind of sticking out there. But you know what? We're just going to sand that down. Really, the sanding is primarily aesthetics, but we want it to look good, right? So we're about an hour and a half in now, so just give yourself two hours with cleanup for this kind of project. But let me show you what I got here. Yeah, there it is. Let me zoom in here. Okay. And I'll use one of these. So right here, this is an example of really good fading. That's really strong right there. This over here is what I was talking about. This is not so great. See how there's a hard line there? You want to try to not have that. Good. Not so good.
But at the end of the day, no, let me zoom out here, at the end of the day, you know how to fix your boat now. So make sure you just go out with some waterproof tape. In the description below I have a short little blog on my choices for a super ultra lightweight med kit for kayaking. So check that out. But at least make sure you have some waterproof tape so if you get a brand new crack or this one opens up again, you can make it down the river. And now you know how to fix a kayak.


